Another awesome cupcake recipe! These are for my husband's birthday - he requested a chocolaty delight, and one thing we miss is Reese's peanut butter cups. Being Primal, we don't eat peanuts or processed candies anymore, so I decided to deviate from our Primal lifestyle just a bit and treat my husband to some homemade nut-butter cups filled with almond butter, cashew butter, and honey instead! The cupcakes were also almond butter and cashew butter mixed together, and the chocolate icing had a beautiful hint of coconut from the coconut oil use to make it.

This is another variation of the lemon raspberry cupcakes I made a few months ago. The basic cake recipe is the same as those and the other cupcakes I have made, I just altered the recipe to include some almond butter and creamy cashew butter. The cupcakes turned out great, but their consistency was a little bit heavier due to the richness of the nut butters.
I made the chocolate candies a few nights before because it takes several hours to do the whole process. I made them in cupcake liners because I didn't find candy sized liners in my usual grocery stores and didn't really feel like searching for them elsewhere...I decided to cut the chocolates into smaller sizes to put on top of the cupcakes (which proved a little difficult and required finesse but looked soooo good) and also, it was freaking awesome to have gigantic candies like this in the house. They are so rich, we'd only eat half at a time, but oh man, so awesome.
The Candies
- 1 1/2 cups of 65% organic, fair trade chocolate chips
- 1/3 cup creamy almond butter with sea salt
- 1/2 cup creamy cashew butter
- 3 tablespoons honey
First, I melted the chocolate chips. Put them in a medium sized metal bowl - not a plastic one! - so the chocolate can melt without burning in the pan. In a large saute pan, I brought 1 1/2 cups of water to a low boil. When the water was simmering nicely, I put the metal bowl with the chocolate chips directly into the hot water, keeping the heat on medium low. I used a frosting spatula and slowly stirred the softening chocolate until it was all creamy and smooth, with no lumps of unmelted chocolate.

Once that step was complete, I grabbed my cupcake tin and lined it with cupcake liners. Using a spoon, I spooned chocolate into each liner, and then pushed the chocolate up the sides of each liner with the back of the spoon. I tried to make sure that chocolate got into each crevice of the cupcake liner, as well as keeping at least 1/4 inch of chocolate at the bottom of the cups to ensure my bottoms would be thick enough to hold the goodies I was planning on packing inside the candies. Then it was off to the freezer for around 4 hours. There was a little bit of extra chocolate in the metal bowl so I set it aside to use again for the tops of my candies.

When the chocolate shells were solid, I mixed the almond butter, honey, and cashew butter in a small bowl and spooned the delicious mixture into each shell, leaving around 1/4 inch to 1/2 inch left to cover with more chocolate. I remelted the chocolate in the same fashion as before and

The Cake
Wet Ingredients
- 1/3 cup frozen banana, thawed
- 1 cup unsweetened applesauce
- 1 tablespoon arrow root powder
- 1/3 cup olive oil (or light oil of your choice)
- 1/3 cup coconut milk
- 2 teaspoon apple cider vinegar
- 1/4 cup water
- 1/4 cup creamy almond butter with sea salt
- 1/2 cup creamy cashew butter
Dry Ingredients
- 2/3 cup white rice flour
- 2/3 cup (don’t pack the cup) shaved palm sugar
- 1/4 cup tapioca starch
- 1/4 cup potato starch
- 1/3 cup almond flour
- 1/4 cup coconut flour
- 1/3 cup brown rice flour
- 2 teaspoon of baking powder
- 1/2 teaspoon of baking soda
- 1/2 teaspoon of salt

Preheat the oven to 350 degrees.
Mix together the wet ingredients and beat the batter in a medium mixing bowl with an electric beater for around 2 minutes. I stuck the mixture in the fridge for a little while to let it rest and so the arrow root could thicken it up a bit.
In a larger mixing bowl, I sifted together all the dry ingredients. I folded the wet ingredients into the dry ones and mixed them thoroughly. Then I spooned the mixture into cupcake liners in my baking pan. I spooned it almost up to the top of the liner.
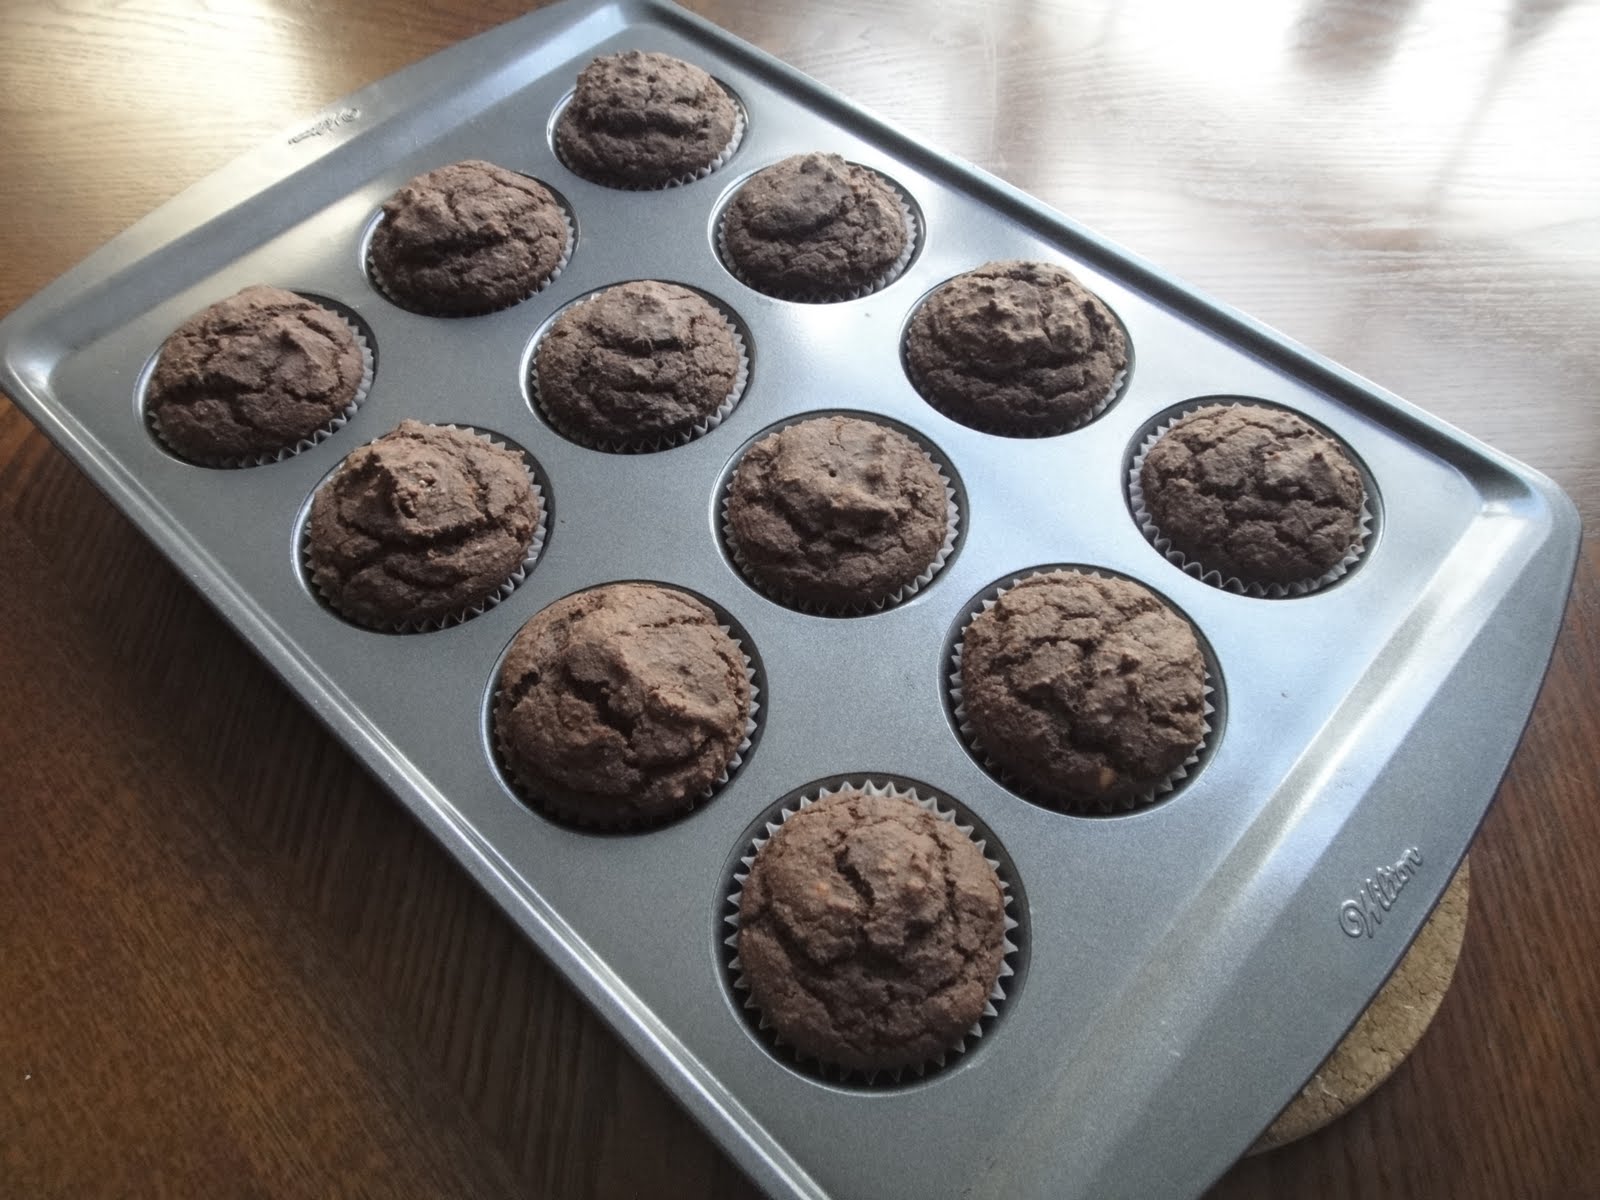
I baked the cupcakes for 21 minutes until the tops were solid and I could stick a toothpick in cleanly. I let them cool in the pan for 5 minutes before pulling them out - I have learned that they are slightly fragile. Once again, I let the cupcakes sit out overnight before icing them. They are much more firm in the morning, and they were easy to handle then.
Before preparing the icing and decorating the cupcakes, I took my candies out of the freezer and used my largest knife to CAREFULLY cut them into 4 pieces. Some candies did not make it out intact from this surgical process and needed to be eaten. It was sad and the candies shall be remembered.
The Icing
- 3/4 cup grated palm sugar
- 1/4 cup cocoa powder
- 1 tablespoon almond butter
- 3/4 cup organic, unhydrogenated palm shortening
- 1/2 cup coconut oil

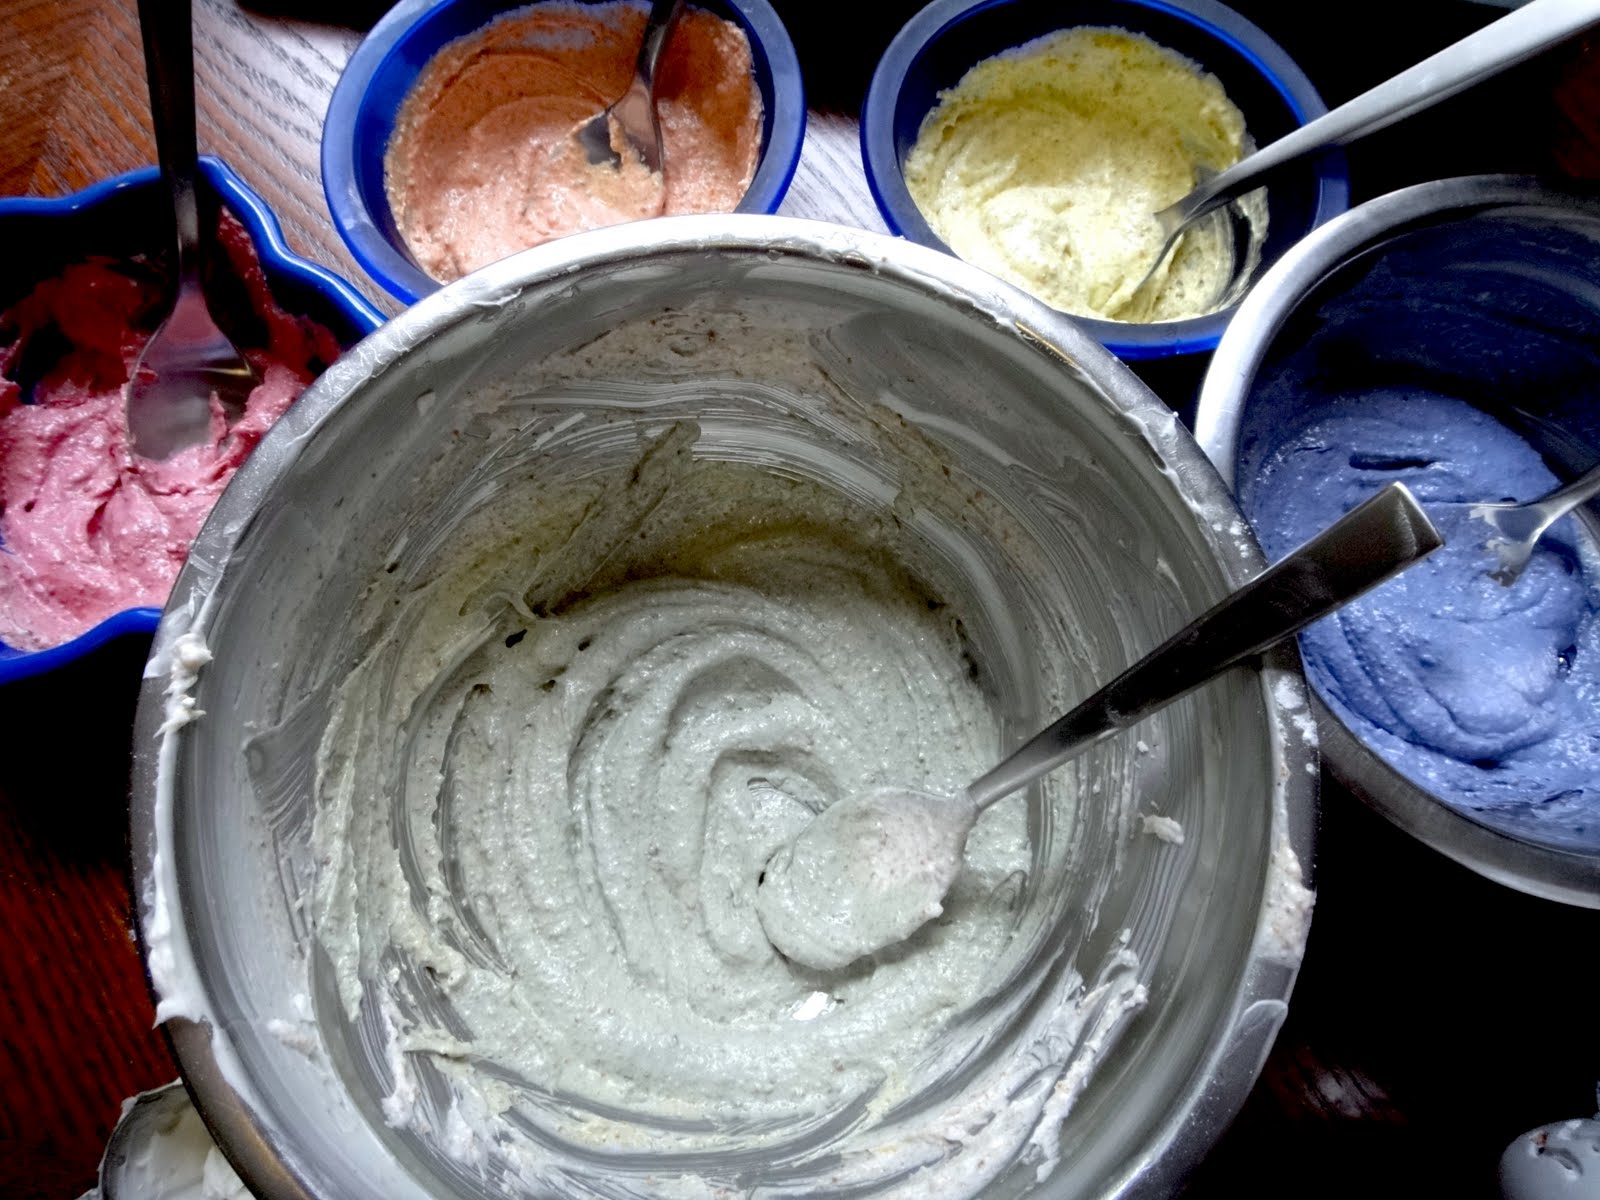
I used the palm sugar as my base for the icing and swirled some coconut oil into the mixing bowl. I dotted the mixture with the almond butter and palm shortening. After beating the icing to a taste and smoothness I liked, I swirled in the cocoa powder.
BE CONSCIOUS OF THE TEMPERATURE OF THE ICING. If it gets too warm it gets too gooey and the icing gets really drippy and won't stick to your cupcakes right. You don't want that. Pop your icing into the fridge for a minute to cool them down if you start to notice that they are getting gooey. But you must be careful not to leave your icing in the fridge too long, or else it gets rock solid because of the palm shortening.

Working quickly, I iced the cupcakes with my spatula, and then wedging a chunk of our candies on top. Sometimes a little extra icing was used, like glue, for the larger chunks of candy. Then the cupcakes got whisked into the fridge, for the icing to harden and keep the candy chunks in place.


Depending on how warm you keep your home, around 20-30 minutes before you serve your cupcakes, take them out of the fridge. Keep an eye on them, if the icing starts to look drippy send them back into the cold for a minute.
Now - go forth and indulge in these, and never settle for a mere peanut butter cup ever again.