Another sweet cupcake recipe! These are vanilla cupcakes stuffed with homemade apple filling and cinnamon icing, in honor of fall. This is a variation of the lemon raspberry cupcakes I made a month ago. The basic cake recipe is the same as those and the chocolate cupcakes I made last week, I just altered a few things to make the cupcakes vanilla this time. Once again I have issues with making my cupcakes difficult, and made apple jam to fill the cupcakes with. The jam was sweet and the cake is so tasty, and these were a big hit as a special birthday treat!
Since neither of my previous icing trials went exactly the way I wanted them to, I combined the non-hydrogenated palm shortening with the coconut oil with much better results. The icing was softer because of the coconut oil, but didn't melt as easily because of palm shortening. This icing lasted in room temperature conditions much better than the coconut oil icing, which got a little melty, and very messy. And this icing was better than the more solid block of icing that the palm shortening created. The cupcakes are truly easy to make the third time around, so if this is your first time making these, don't fret, it gets easier! The icing was once again a huge effort and mess, but that's because I got silly ambitious with tweezers and paintbrushes decorating my fool head off.
I wanted to celebrate fall and the gorgeous way the leaves burst into vibrant colors this time of year, so I decorated green, yellow, and red leaves on the tops of my cupcakes. The apple jam inside and cinnamon icing illicit all the flavors of fall with each sweet bite. I found this image of some cool leaf shaped soap molds when google imaging my way to inspiration, and decided to base my cupcake design off of them.
The Cake
Wet Ingredients
- 1/3 cup frozen banana, thawed
- 1 cup unsweetened applesauce
- 1 tablespoon arrow root powder
- 1/3 cup olive oil (or light oil of your choice)
- 1/3 cup coconut milk
- 2 teaspoon apple cider vinegar
- 1/4 cup water
- seeds of 1/2 vanilla bean (or 2-3 teaspoons of vanilla)
Dry Ingredients
- 2/3 cup white rice flour
- 2/3 cup (don’t pack the cup) shaved palm sugar
- 1/4 cup tapioca starch
- 1/4 cup potato starch
- 1/3 cup almond flour
- 1/4 cup coconut flour
- 1/3 cup brown rice flour
- 2 teaspoon of baking powder
- 1/2 teaspoon of baking soda
- 1/2 teaspoon of salt
Preheat the oven to 350 degrees.
Mix together the wet ingredients and beat the batter in a medium mixing bowl with an electric beater for around 2 minutes. I stuck the mixture in the fridge for a little while to let it rest and so the arrow root could thicken it up a bit.
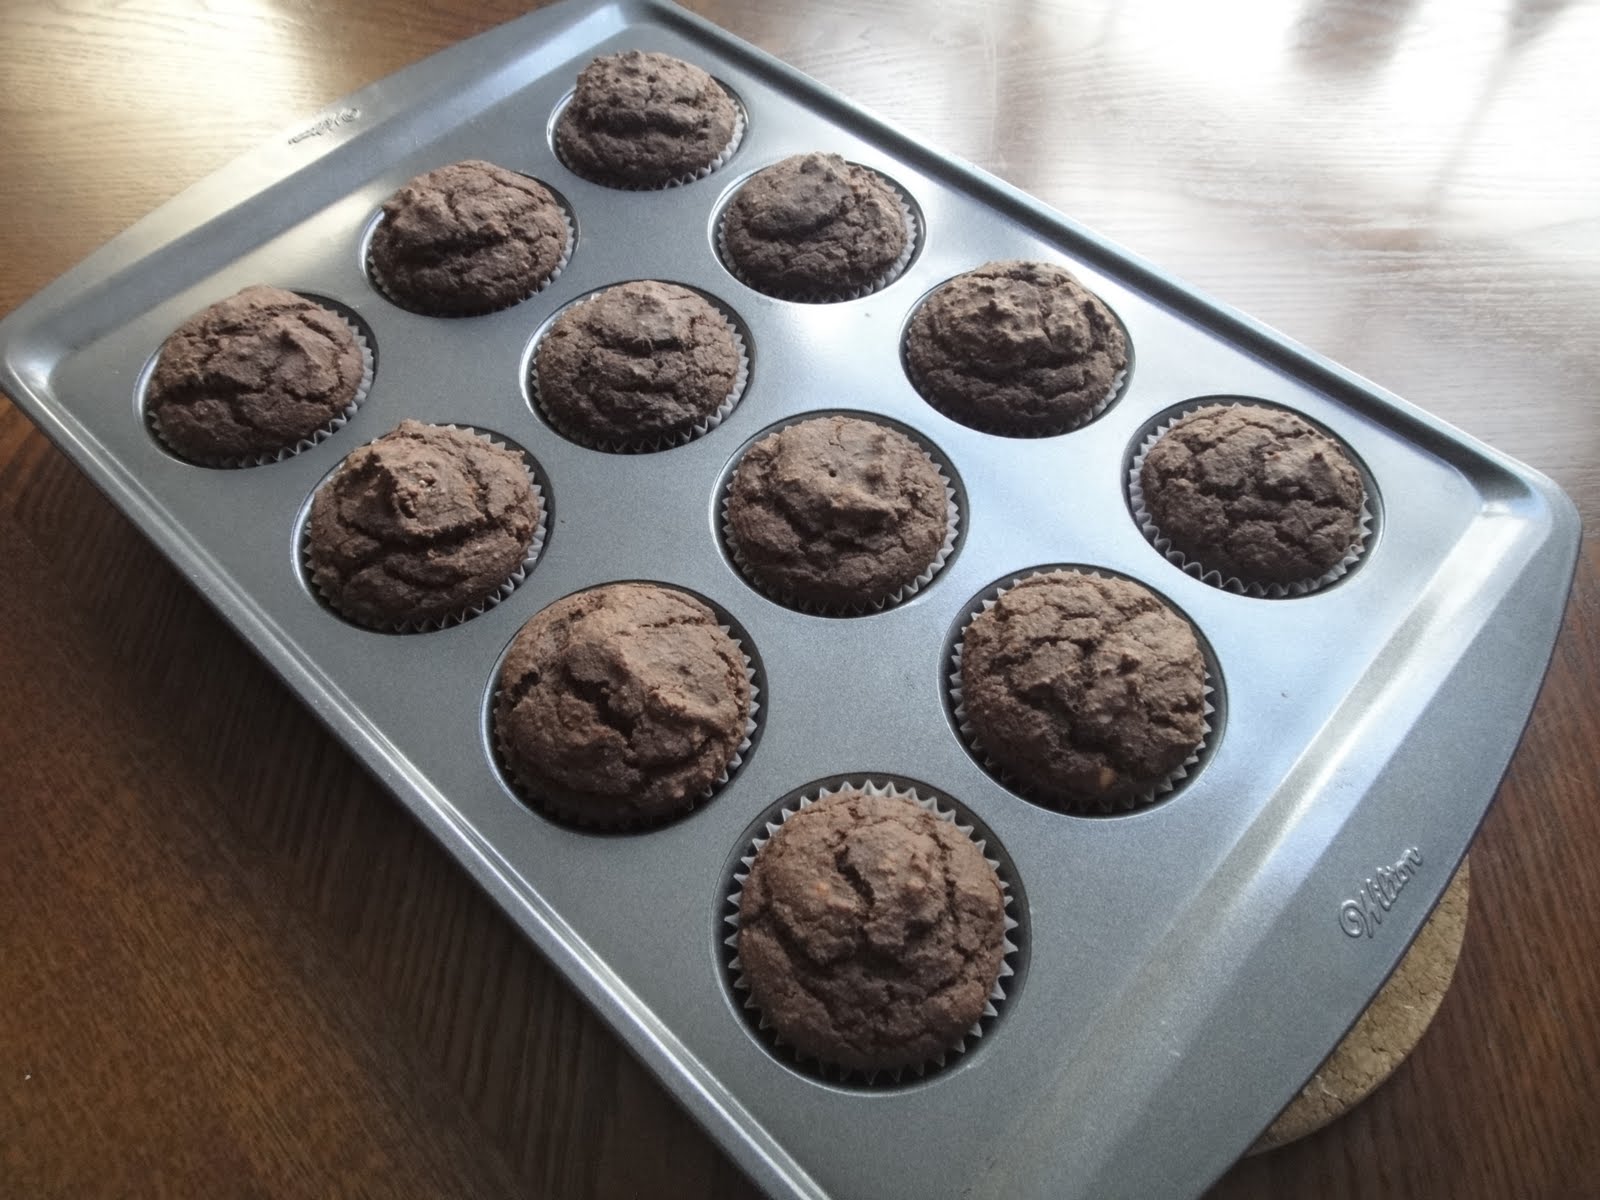
In a larger mixing bowl, I sifted together all the dry ingredients. I folded the wet ingredients into the dry ones and mixed them thoroughly. Then I spooned the mixture into cupcake liners in my baking pan. I spooned it almost up to the top of the liner.
I baked the cupcakes for 21 minutes until the tops were solid and I could stick a toothpick in cleanly. I let them cool in the pan for 5 minutes before pulling them out - I have learned that they are slightly fragile. Once again, I let the cupcakes sit out overnight before icing them. They are much more firm in the morning, and they were easy to handle then.
At this point I started to turn maniacal and prepared to make my apple filling. I used some honey as my sweetener, making these non-vegan, but if you omitted the honey or used palm sugar, agave, or stevia, you could make these and still be vegan.
The Apple Filling
- 4 Gala apples, peeled, cored, and cut into large chunks
- 1 cup unsweetened applesauce
- 2 teaspoons honey
- cinnamon to taste
- dash of nutmeg
Preheat the oven to 325 degrees.
Pull a 12-15" piece of aluminum foil and lay it flat in a large, oven safe sauce pan. Pull up the edges so you start to make a bowl-shape. Spoon the applesauce into that, along with the chunks of apple. Mix them together a bit with a large spoon, and cover everything with some cinnamon (as much as you like) and a teensy bit of nutmeg. Drizzle the honey over the top, and the scrunch up the top of the aluminum foil so you have a pouch. Pick up the whole pan and stick it into the oven for at least 90 minutes. The longer the apples cook, the softer they get, and 90 minutes in the oven gave me perfectly sweet filling. I mashed up the chunks gently with a fork and refrigerated the filling overnight.

In the morning, I cut circles into the tops of the cupcakes and very gently pulled out a cone of cake, making sure to leave plenty at the bottom so the filling would not fall through them. That would be bad. I cut off a bite of cake and put a dollop of the apple filling inside. There is a bit of finesse required to do this, which I now feel like I have mastered after trying this technique three times. Spoon the apple jam into the cupcakes and gently replace the tops, trying not to squish jam out the sides. That is messy and will also mess with your decorating space, so if you do fill your cupcakes with too much filling and overflows, try to clean up as much as possible so you have a dry working surface for the icing to go on!
DISCLAIMER:
I am crazy. It took me two hours to decorate my cupcakes this way, because I got really into painting little details on my leaves. You don't have to do this.
- 3/4 cup grated palm sugar
- 1/8 cup cinnamon
- 1 tablespoon almond butter
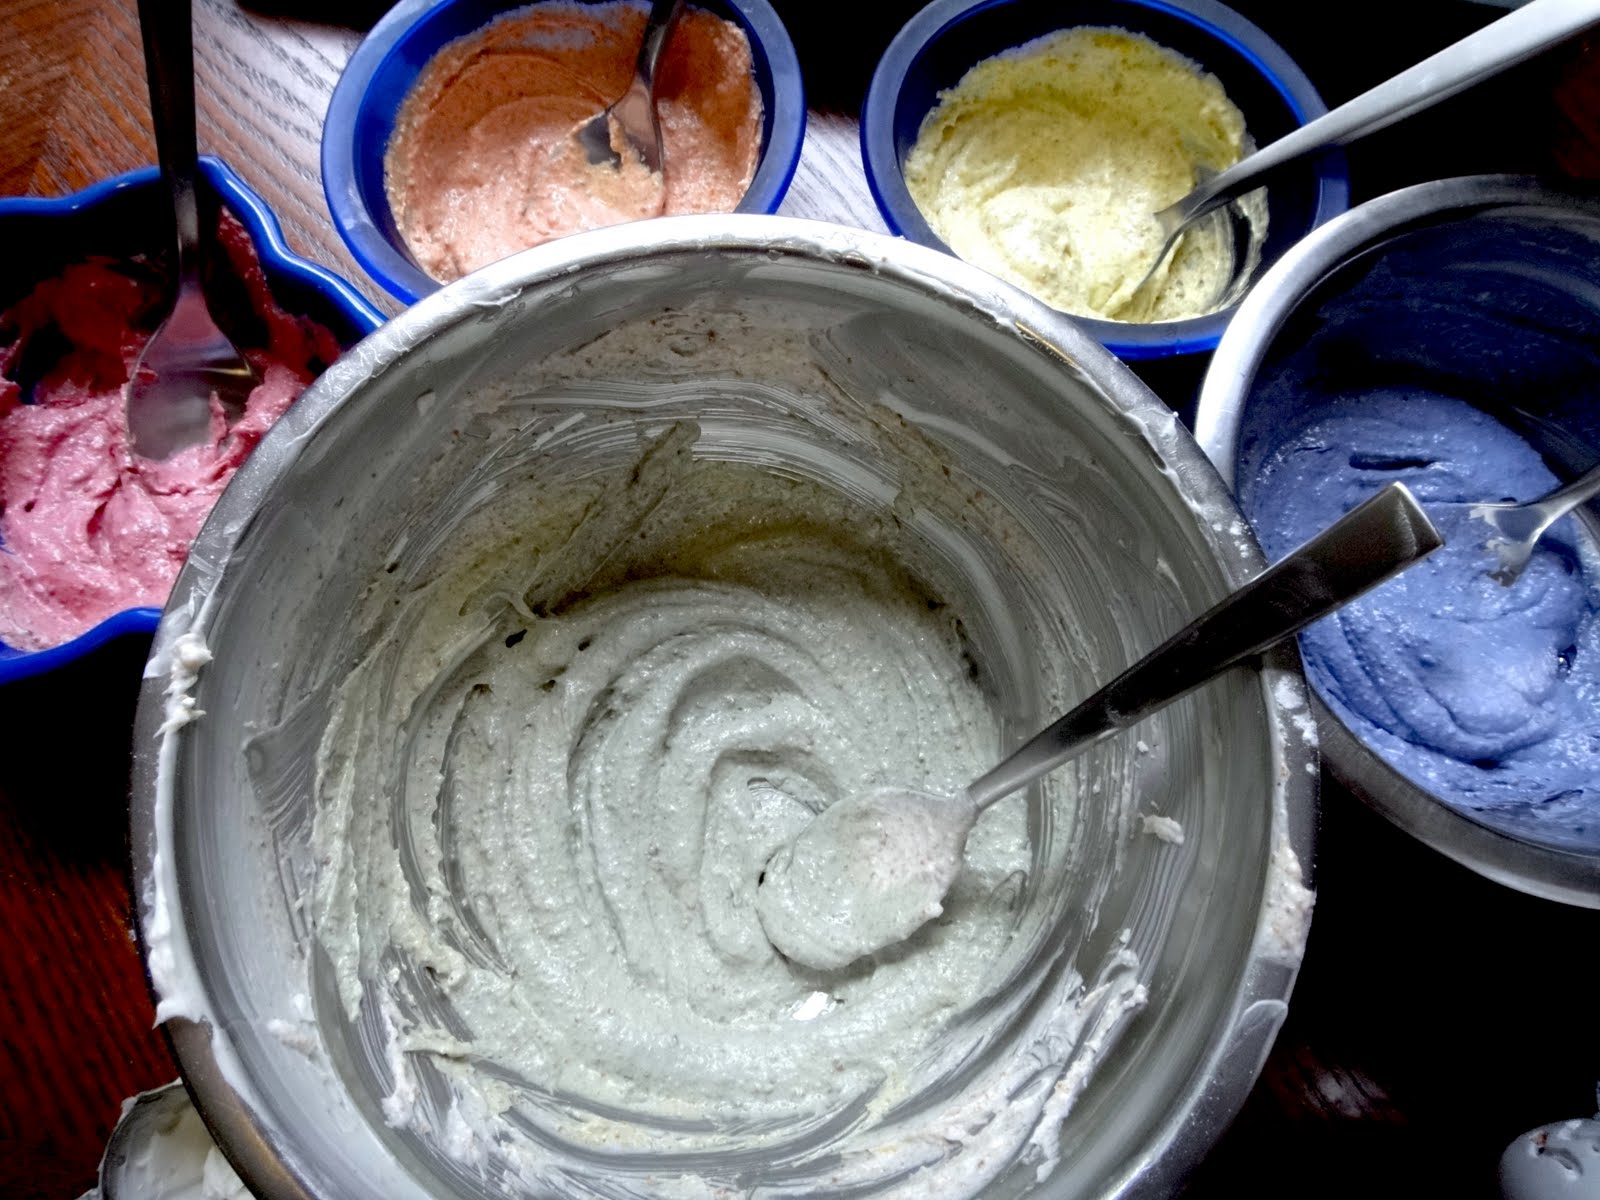
- organic chocolate sprinkles (that sadly aren't really Primal since they have some corn malt syrup...I have not been able to find Primal sprinkles, but these were the best I could find) I went for a solid and yet still smooth consistency this time with the icing. Last time's batch was too granular and stiff, so I used less palm sugar and swirled some coconut oil into the mixing bowl. After beating the icing to a taste and smoothness I liked, I separated the icing into three bowls.
Playing with the food coloring, I got myself three fall colors - orangey-red, yellow, and brownish green. Feel free to play with the variations of red/yellow/blue to get the shades you like best.
Put a teaspoon in each bowl. Other than the teaspoons, all you will need is 2-3 food artist's paintbrushes (or brand new, unused cheap-o paintbrushes with the black brushtip will be juuuust fine). BE CONSCIOUS OF THE TEMPERATURE OF THE ICING. If it gets too warm it gets too gooey and the colors start to separate and the icing won't stick to your paintbrushes right. You don't want that. Pop your icings into the fridge for a minute to cool them down if you start to notice that they are getting gooey. But you must be careful not to leave your icing in the fridge too long, or else it gets rock solid because of the palm shortening.
To make these leaves I started with just a teaspoon dollop on the tops of each cupcake, alternating the colors so I would have variety. I tried to pull the icing off the spoon in the basic shapes of the soap molds (pictured above) that I was using for inspiration. I popped the cupcakes in the fridge for a few minutes to solidify the icing.
Once the icing was harder, I took a metal toothpick and started to draw my leaf-lines. Using tweezers, I placed the sprinkles in a neat line down all the middles of the leaves. I got really creative with my leaves, drawing little swirls and really trying to play with the shapes. Make sure to lift up and away with the toothpick to pull up the unneeded icing and create a clean, distinct line in its place.
Finally, grab your paintbrushes and add some of the other two colors to your leaf-shaped base. Dip the paintbrushes into your icings and scoop just a bit of icing at a time, and really carefully drag the paintbrush over the edges or around the middle of your leaves. Use the texture of the icing to make your leaves look more realistic - pull up at the end so the leaf tips pull up or come to points, just like in real life. It's okay if you "mess up"...no one will know, and in real life leaves don't all look the same.
When you finish the details on a cupcake, pop it into the fridge so the icing can set. Make sure to pull out the cupcakes 30-45 minutes before you plan to serve them, so the icing won't be too hard and the cupcake wrappers will come off the cake easily. Give yourself a HUGE pat on the back if you made the apple jam and sat patiently through painting leaves on your cupcakes - these were a huge load of work and you should be proud of yourself for being so dedicated to your cupcakes! People will love them!