Showing posts with label cupcakes. Show all posts

Thursday, September 29, 2011

Cashew Butter Cupcakes...Did I Mention The Homemade Candy?


Another awesome cupcake recipe!  These are for my husband's birthday - he requested a chocolaty delight, and one thing we miss is Reese's peanut butter cups.  Being Primal, we don't eat peanuts or processed candies anymore, so I decided to deviate from our Primal lifestyle just a bit and treat my husband to some homemade nut-butter cups filled with almond butter, cashew butter, and honey instead!  The cupcakes were also almond butter and cashew butter mixed together, and the chocolate icing had a beautiful hint of coconut from the coconut oil use to make it.  


This is another variation of the lemon raspberry cupcakes I made a few months ago.  The basic cake recipe is the same as those and the other cupcakes I have made, I just altered the recipe to include some almond butter and creamy cashew butter.  The cupcakes turned out great, but their consistency was a little bit heavier due to the richness of the nut butters.

I made the chocolate candies a few nights before because it takes several hours to do the whole process.  I made them in cupcake liners because I didn't find candy sized liners in my usual grocery stores and didn't really feel like searching for them elsewhere...I decided to cut the chocolates into smaller sizes to put on top of the cupcakes (which proved a little difficult and required finesse but looked soooo good) and also, it was freaking awesome to have gigantic candies like this in the house.  They are so rich, we'd only eat half at a time, but oh man, so awesome.

The Candies

- 1/3 cup creamy almond butter with sea salt
- 1/2 cup creamy cashew butter
- 3 tablespoons honey

First, I melted the chocolate chips.  Put them in a medium sized metal bowl - not a plastic one! - so the chocolate can melt without burning in the pan.  In a large saute pan, I brought 1 1/2 cups of water to a low boil.  When the water was simmering nicely, I put the metal bowl with the chocolate chips directly into the hot water, keeping the heat on medium low.  I used a frosting spatula and slowly stirred the softening chocolate until it was all creamy and smooth, with no lumps of unmelted chocolate.  


Once that step was complete, I grabbed my cupcake tin and lined it with cupcake liners.  Using a spoon, I spooned chocolate into each liner, and then pushed the chocolate up the sides of each liner with the back of the spoon.  I tried to make sure that chocolate got into each crevice of the cupcake liner, as well as keeping at least 1/4 inch of chocolate at the bottom of the cups to ensure my bottoms would be thick enough to hold the goodies I was planning on packing inside the candies.  Then it was off to the freezer for around 4 hours. There was a little bit of extra chocolate in the metal bowl so I set it aside to use again for the tops of my candies.


When the chocolate shells were solid, I mixed the almond butter, honey, and cashew butter in a small bowl and spooned the delicious mixture into each shell, leaving around 1/4 inch to 1/2 inch left to cover with more chocolate. I remelted the chocolate in the same fashion as before and 


The Cake

Wet Ingredients
- 1/3 cup frozen banana, thawed
- 1 cup unsweetened applesauce
- 1 tablespoon arrow root powder
- 1/3 cup olive oil (or light oil of your choice)
- 1/3 cup coconut milk 
- 2 teaspoon apple cider vinegar
- 1/4 cup water 
- 1/4 cup creamy almond butter with sea salt
- 1/2 cup creamy cashew butter

Dry Ingredients
   - 2/3 cup white rice flour
- 2/3 cup (don’t pack the cup) shaved palm sugar
- 1/4 cup tapioca starch
- 1/4 cup potato starch
- 1/3 cup almond flour 
- 1/4 cup coconut flour 
- 1/3 cup brown rice flour
- 2 teaspoon of baking powder
- 1/2 teaspoon of baking soda
- 1/2 teaspoon of salt  


Preheat the oven to 350 degrees.

Mix together the wet ingredients and beat the batter in a medium mixing bowl with an electric beater for around 2 minutes.   I stuck the mixture in the fridge for a little while to let it rest and so the arrow root could thicken it up a bit. 

In a larger mixing bowl, I sifted together all the dry ingredients.  I folded the wet ingredients into the dry ones and mixed them thoroughly. Then I spooned the mixture into cupcake liners in my baking pan. I spooned it almost up to the top of the liner.

I baked the cupcakes for 21 minutes until the tops were solid and I could stick a toothpick in cleanly.  I let them cool in the pan for 5 minutes before pulling them out - I have learned that they are slightly fragile.  Once again, I let the cupcakes sit out overnight before icing them.  They are much more firm in the morning, and they were easy to handle then.


Before preparing the icing and decorating the cupcakes, I took my candies out of the freezer and used my largest knife to CAREFULLY cut them into 4 pieces.  Some candies did not make it out intact from this surgical process and needed to be eaten.  It was sad and the candies shall be remembered.


The Icing
- 3/4 cup grated palm sugar
- 1/4 cup cocoa powder
- 1 tablespoon almond butter 
- 1/2 cup coconut oil


I used the palm sugar as my base for the icing and swirled some coconut oil into the mixing bowl.  I dotted the mixture with the almond butter and palm shortening.  After beating the icing to a taste and smoothness I liked, I swirled in the cocoa powder.


BE CONSCIOUS OF THE TEMPERATURE OF THE ICING.  If it gets too warm it gets too gooey and the icing gets really drippy and won't stick to your cupcakes right.  You don't want that.  Pop your icing into the fridge for a minute to cool them down if you start to notice that they are getting gooey.  But you must be careful not to leave your icing in the fridge too long, or else it gets rock solid because of the palm shortening. 


Working quickly, I iced the cupcakes with my spatula, and then wedging a chunk of our candies on top.  Sometimes a little extra icing was used, like glue, for the larger chunks of candy.  Then the cupcakes got whisked into the fridge, for the icing to harden and keep the candy chunks in place.  


Depending on how warm you keep your home, around 20-30 minutes before you serve your cupcakes, take them out of the fridge.  Keep an eye on them, if the icing starts to look drippy send them back into the cold for a minute.


Now - go forth and indulge in these, and never settle for a mere peanut butter cup ever again.

Thursday, September 15, 2011

Autumn Leaves Cupcakes


Another sweet cupcake recipe!  These are vanilla cupcakes stuffed with homemade apple filling and cinnamon icing, in honor of fall.  This is a variation of the lemon raspberry cupcakes I made a month ago.  The basic cake recipe is the same as those and the chocolate cupcakes I made last week, I just altered a few things to make the cupcakes vanilla this time.  Once again I have issues with making my cupcakes difficult, and made apple jam to fill the cupcakes with.  The jam was sweet and the cake is so tasty, and these were a big hit as a special birthday treat!  

Since neither of my previous icing trials went exactly the way I wanted them to, I combined the non-hydrogenated palm shortening with the coconut oil with much better results.  The icing was softer because of the coconut oil, but didn't melt as easily because of palm shortening.  This icing lasted in room temperature conditions much better than the coconut oil icing, which got a little melty, and very messy.  And this icing was better than the more solid block of icing that the palm shortening created.  The cupcakes are truly easy to make the third time around, so if this is your first time making these, don't fret, it gets easier!  The icing was once again a huge effort and mess, but that's because I got silly ambitious with tweezers and paintbrushes decorating my fool head off. 

I wanted to celebrate fall and the gorgeous way the leaves burst into vibrant colors this time of year, so I decorated green, yellow, and red leaves on the tops of my cupcakes.  The apple jam inside and cinnamon icing illicit all the flavors of fall with each sweet bite.  I found this image of some cool leaf shaped soap molds when google imaging my way to inspiration, and decided to base my cupcake design off of them.  


The Cake

Wet Ingredients
- 1/3 cup frozen banana, thawed
- 1 cup unsweetened applesauce
- 1 tablespoon arrow root powder
- 1/3 cup olive oil (or light oil of your choice)
- 1/3 cup coconut milk 
- 2 teaspoon apple cider vinegar
- 1/4 cup water 
- seeds of 1/2 vanilla bean (or 2-3 teaspoons of vanilla)

Dry Ingredients
   - 2/3 cup white rice flour
- 2/3 cup (don’t pack the cup) shaved palm sugar
- 1/4 cup tapioca starch
- 1/4 cup potato starch
- 1/3 cup almond flour 
- 1/4 cup coconut flour 
- 1/3 cup brown rice flour
- 2 teaspoon of baking powder
- 1/2 teaspoon of baking soda
- 1/2 teaspoon of salt


Preheat the oven to 350 degrees.

Mix together the wet ingredients and beat the batter in a medium mixing bowl with an electric beater for around 2 minutes.   I stuck the mixture in the fridge for a little while to let it rest and so the arrow root could thicken it up a bit. 

In a larger mixing bowl, I sifted together all the dry ingredients.  I folded the wet ingredients into the dry ones and mixed them thoroughly. Then I spooned the mixture into cupcake liners in my baking pan. I spooned it almost up to the top of the liner.


I baked the cupcakes for 21 minutes until the tops were solid and I could stick a toothpick in cleanly.  I let them cool in the pan for 5 minutes before pulling them out - I have learned that they are slightly fragile.  Once again, I let the cupcakes sit out overnight before icing them.  They are much more firm in the morning, and they were easy to handle then.


At this point I started to turn maniacal and prepared to make my apple filling.  I used some honey as my sweetener, making these non-vegan, but if you omitted the honey or used palm sugar, agave, or stevia, you could make these and still be vegan. 

The Apple Filling
- 4 Gala apples, peeled, cored, and cut into large chunks
- 1 cup unsweetened applesauce
- 2 teaspoons honey
- cinnamon to taste
- dash of nutmeg

Preheat the oven to 325 degrees.

Pull a 12-15" piece of aluminum foil and lay it flat in a large, oven safe sauce pan.  Pull up the edges so you start to make a bowl-shape.  Spoon the applesauce into that, along with the chunks of apple.  Mix them together a bit with a large spoon, and cover everything with some cinnamon (as much as you like) and a teensy bit of nutmeg.  Drizzle the honey over the top, and the scrunch up the top of the aluminum foil so you have a pouch.  Pick up the whole pan and stick it into the oven for at least 90 minutes.  The longer the apples cook, the softer they get, and 90 minutes in the oven gave me perfectly sweet filling.  I mashed up the chunks gently with a fork and refrigerated the filling overnight.


In the morning, I cut circles into the tops of the cupcakes and very gently pulled out a cone of cake, making sure to leave plenty at the bottom so the filling would not fall through them.  That would be bad.  I cut off a bite of cake and put a dollop of the apple filling inside.  There is a bit of finesse required to do this, which I now feel like I have mastered after trying this technique three times.  Spoon the apple jam into the cupcakes and gently replace the tops, trying not to squish jam out the sides.  That is messy and will also mess with your decorating space, so if you do fill your cupcakes with too much filling and overflows, try to clean up as much as possible so you have a dry working surface for the icing to go on!  


DISCLAIMER:
I am crazy.  It took me two hours to decorate my cupcakes this way, because I got really into painting little details on my leaves.  You don't have to do this.


The Icing
- 3/4 cup grated palm sugar
- 1/8 cup cinnamon
- 1 tablespoon almond butter 
- 1/2 cup coconut oil

- organic chocolate sprinkles (that sadly aren't really Primal since they have some corn malt syrup...I have not been able to find Primal sprinkles, but these were the best I could find)

I went for a solid and yet still smooth consistency this time with the icing.  Last time's batch was too granular and stiff, so I used less palm sugar and swirled some coconut oil into the mixing bowl.  After beating the icing to a taste and smoothness I liked, I separated the icing into three bowls. 

Playing with the food coloring, I got myself three fall colors - orangey-red, yellow, and brownish green.  Feel free to play with the variations of red/yellow/blue to get the shades you like best.


Put a teaspoon in each bowl.  Other than the teaspoons, all you will need is 2-3 food artist's paintbrushes (or brand new, unused cheap-o paintbrushes with the black brushtip will be juuuust fine).  BE CONSCIOUS OF THE TEMPERATURE OF THE ICING.  If it gets too warm it gets too gooey and the colors start to separate and the icing won't stick to your paintbrushes right.  You don't want that.  Pop your icings into the fridge for a minute to cool them down if you start to notice that they are getting gooey.  But you must be careful not to leave your icing in the fridge too long, or else it gets rock solid because of the palm shortening. 

To make these leaves I started with just a teaspoon dollop on the tops of each cupcake, alternating the colors so I would have variety.  I tried to pull the icing off the spoon in the basic shapes of the soap molds (pictured above) that I was using for inspiration.  I popped the cupcakes in the fridge for a few minutes to solidify the icing.

Once the icing was harder, I took a metal toothpick and started to draw my leaf-lines.  Using tweezers, I placed the sprinkles in a neat line down all the middles of the leaves.  I got really creative with my leaves, drawing little swirls and really trying to play with the shapes.  Make sure to lift up and away with the toothpick to pull up the unneeded icing and create a clean, distinct line in its place.


Finally, grab your paintbrushes and add some of the other two colors to your leaf-shaped base.  Dip the paintbrushes into your icings and scoop just a bit of icing at a time, and really carefully drag the paintbrush over the edges or around the middle of your leaves.  Use the texture of the icing to make your leaves look more realistic - pull up at the end so the leaf tips pull up or come to points, just like in real life.  It's okay if you "mess up"...no one will know, and in real life leaves don't all look the same.


When you finish the details on a cupcake, pop it into the fridge so the icing can set.  Make sure to pull out the cupcakes 30-45 minutes before you plan to serve them, so the icing won't be too hard and the cupcake wrappers will come off the cake easily.  Give yourself a HUGE pat on the back if you made the apple jam and sat patiently through painting leaves on your cupcakes - these were a huge load of work and you should be proud of yourself for being so dedicated to your cupcakes!  People will love them!

Sunday, August 28, 2011

Rainbow Swirl Chocolate Cupcakes. Be EXCITED!


Oh my freaking gosh I created rainbow swirl cupcakes this weekend.  This had me excited and bouncing off the walls (or maybe it was all the shaved palm sugar).  This is a variation of the lemon raspberry cupcakes I made a few weeks ago.  The basic cake recipe is the same, I just altered a few things to make the cupcakes chocolate instead of lemon.  This time I put a simple whipped cream inside (making these non-vegan), but they don't need to be stuffed.  The cake is so moist and delicious!  

Also, this time I used organic, non-hydrogenated palm shortening as the base for my icing instead of the coconut oil.  I wanted a stiffer base so my icing could stand up to the trials of the abnormally nice weather San Francisco has been having lately.  This icing lasted in room temperature conditions much better than the coconut oil icing, which got a little melty, and very messy.  My kitchen was slightly less of a disaster zone this time around because I knew more of the cupcake making process - indeed, the cupcakes did not take a lot of effort now that I had all the ingredients stocked in my cupboards and knew what to do.  The rainbow icing experiment, while incredibly successful, was a bit on the messy side.  But all is rendered good when it comes to cupcakes.

I got the inspiration for the rainbow swirl cupcakes from this old blog post off of the blog Sara Bakes Cakes.  She didn't have instructions on how to do it, but in the comments I read that she had leftover colored icings from a different cake project, and she just put them all in the decorating bag and this is what came out.  I had to try it.  It's brilliant, beautiful, and every cupcake is a uniquely cool piece of art.  
AND THEY TASTE AWESOME.

The Cake

Wet Ingredients
- 1/2 cup frozen banana, thawed
- 1 cup unsweetened applesauce
- 1 tablespoon arrow root powder
- 1/3 cup olive oil (or light oil of your choice)
- 1/3 cup coconut milk 
- 2 teaspoon apple cider vinegar
- 1/4 cup water 
- 1/4 cup organic cocoa powder
- seeds of 1/2 vanilla bean (or 2-3 teaspoons of vanilla)

Dry Ingredients
   - 2/3 cup white rice flour
- 2/3 cup (don’t pack the cup) shaved palm sugar
- 1/4 cup tapioca starch
- 1/4 cup potato starch
- 1/3 cup almond flour 
- 1/4 cup coconut flour 
- 1/3 cup brown rice flour
- 2 teaspoon of baking powder
- 1/2 teaspoon of baking soda
- 1/2 teaspoon of salt

Preheat the oven to 350 degrees.

This time I mixed together the wet ingredients and beat it in a medium mixing bowl with my electric beater for around 2 minutes.  I added a little more thawed banana this time around, and estimated that 1/4 cup of pure cocoa powder would make my batter decently chocolatey without making it too bitter.  I stuck the mixture in the fridge for a little while to let it rest and so the arrow root could thicken it up a bit. 

In a larger mixing bowl, I sifted together all the dry ingredients.  I folded the wet ingredients into the dry ones and mixed them thoroughly. Then I spooned the mixture into cupcake liners in my baking pan.  I spooned it almost up to the top of the liner, just like last time.  


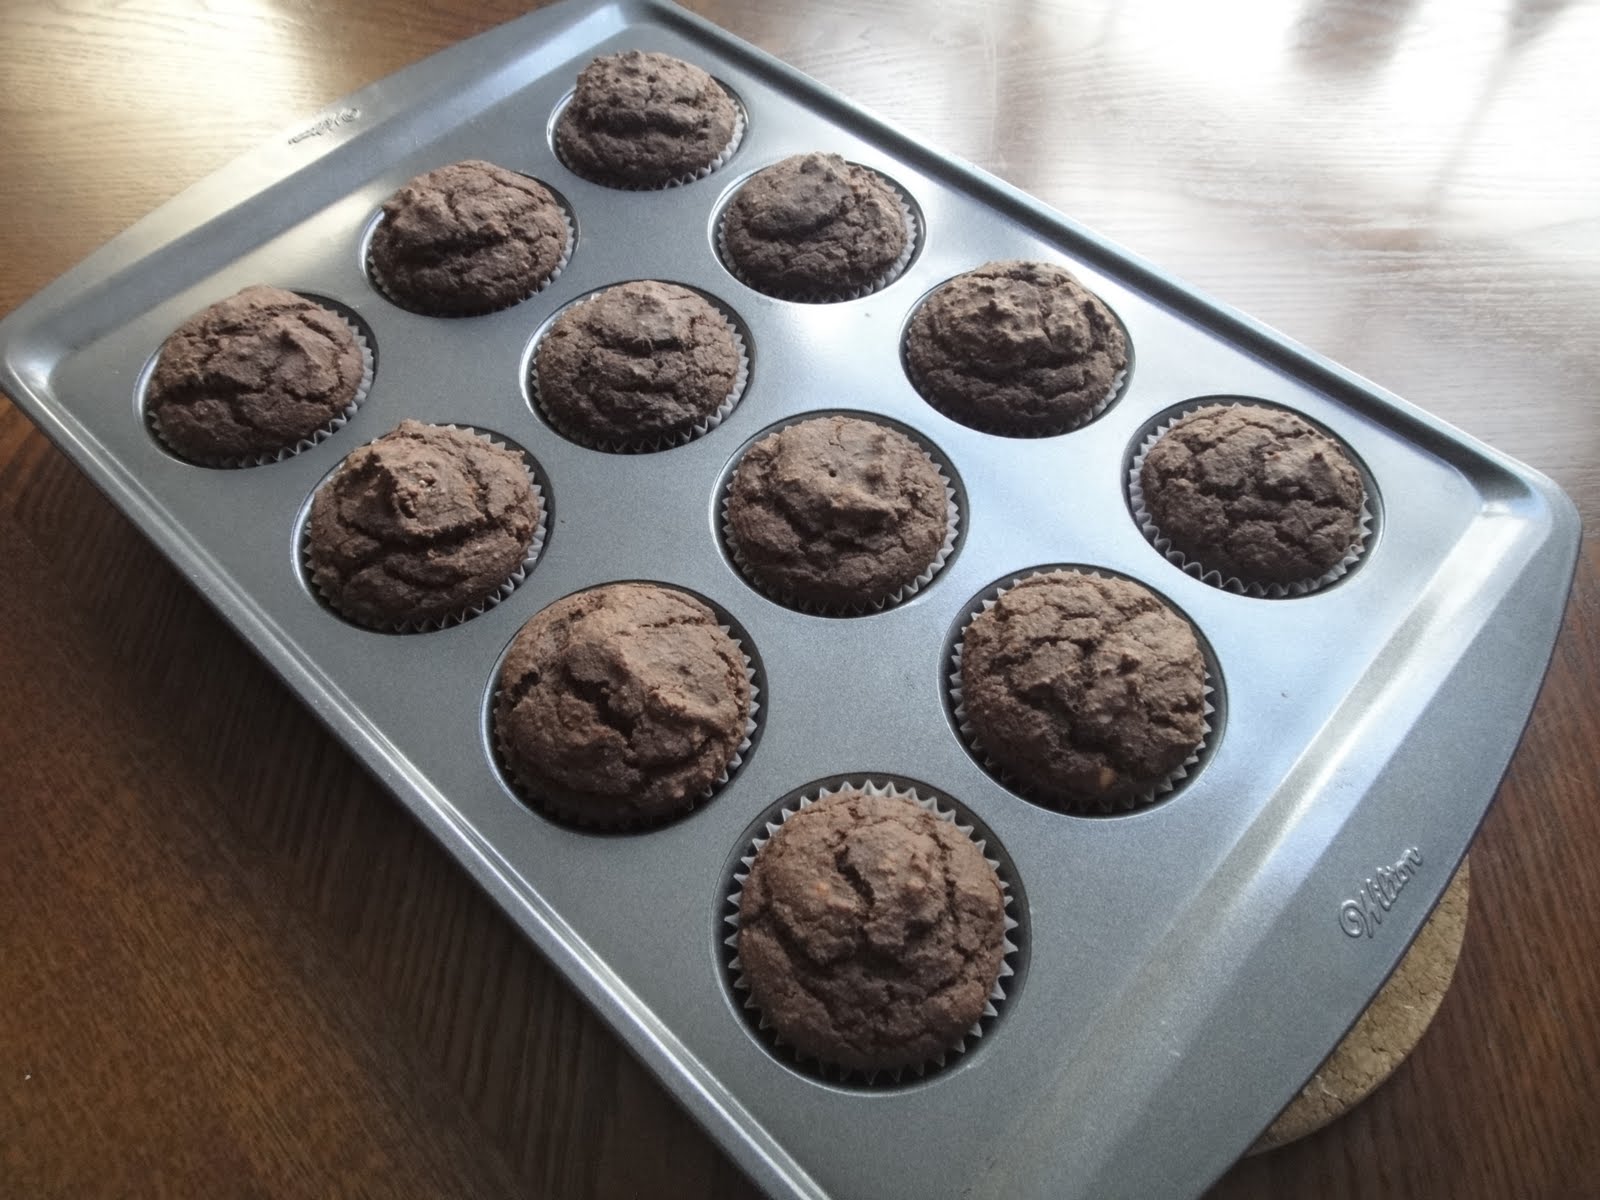
I baked the cupcakes for 21 minutes until the tops were solid and I could stick a toothpick in cleanly.  I let them cool in the pan for 5 minutes before pulling them out - I learned last time that they are slightly fragile.  The tops of the cupcakes split a tiny bit and almost looked like brownie cupcakes, but they stayed together fine (and ohmygod I just made chocolate gluten free cupcakes, rejoice).  Once again, I let the cupcakes sit out overnight before icing them.  They are much more firm in the morning, and they were easy to handle then.


In the morning, I cut circles into the tops of the cupcakes and very gently pulled out a cone of cake, making sure to leave plenty at the bottom so the filling would not fall through them.  That would be bad.  I cut off a bite of cake and put a dollop of the whipped cream inside.  There is a bit of finesse required to do this, as I learned before but did not manage to remember as I started working on filling the cupcakes.   Like before, my first cupcake top didn't fit right because I had put too much whipped cream inside, and then when I pressed down on it whipped cream shot all over the place (*cough*thatswhatshesaid*cough*).  I got the hang of it quickly (I put in half as much as I thought should go in, and I was golden). 


Next came the icing.  Rainbow lovers rejoice!


The Icing
- 1 cup grated palm sugar
- 1 tablespoon almond butter 


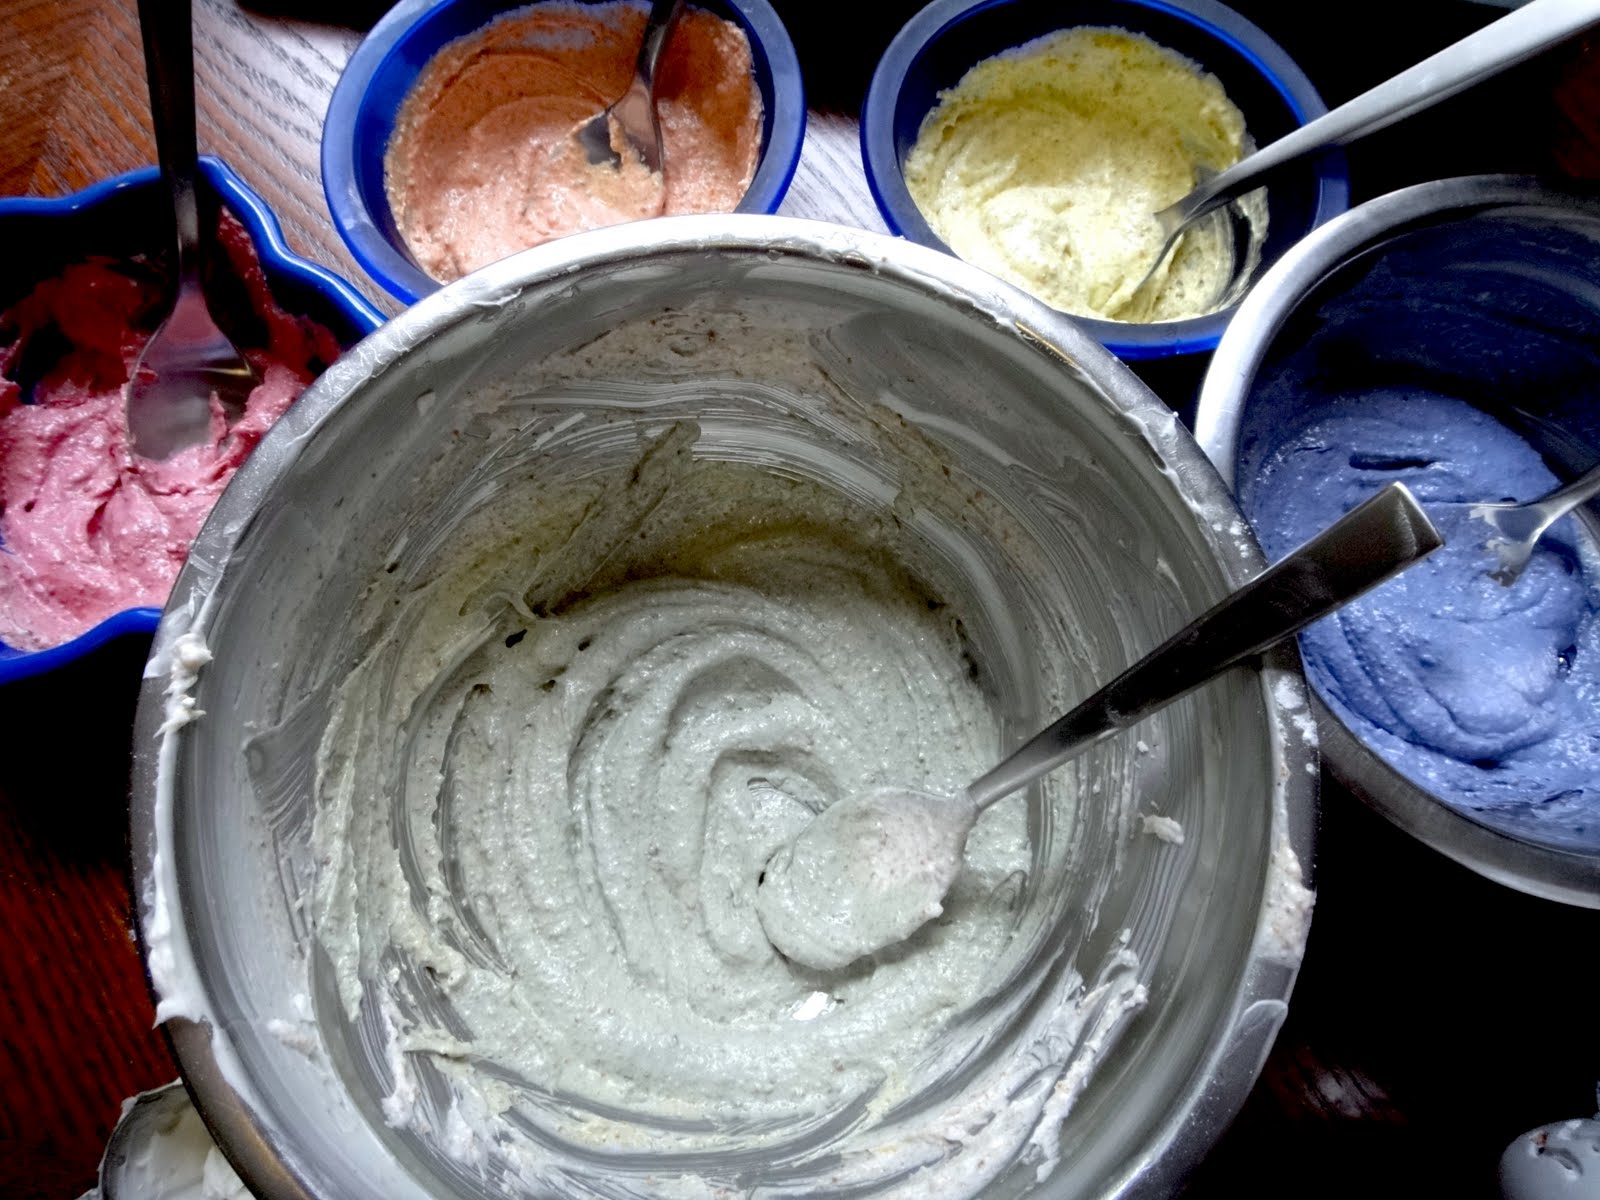
I wanted bold, beautiful rainbow colors for my swirled icing, so I made 5 different colors:  dark pink, orange, yellow, blue, and green.  I was impressed once again with the ability of the natural food coloring to produce awesome shades of colors.  The icing is a to taste kind of deal - if you want your icing sweeter or thicker, play with the ingredients until you get the right consistency.  


After you beat together your icing, separate it into five small bowls.  Put 5 drops of the pink/red dye into one bowl to make the dark pink color.  Put 3 drops red and 4 drops yellow into the second bowl to make the orange.  4 drops of yellow made the yellow icing bright and beautiful.  The blue icing took 6 drops to make it stand out.  The green took 4 drops of blue and 4 drops of yellow to get right.   Feel free to play with the variations of red/yellow/blue to get the shades you like best.


Put a teaspoon in each bowl.  Set up your decorating bag by snipping the tip and securing the 1M tip onto it.  Place one spoonful of each color into the bag at a time, until you get a globby, multi-colored mess going on inside.  BE CONSCIOUS OF THE TEMPERATURE OF THE ICING.  If it gets too warm it gets too gooey and the colors start to blend into a purple-brown bleh color.  You don't want that.  Pop your icings into the fridge for a minute to cool them down if you start to notice that they are getting gooey.  But you must be careful not to leave your icing in the fridge too long, or else it gets rock solid.  The palm shortening has a completely different texture and properties than the coconut oil - I preferred the workability of the palm shortening icing but personally liked the taste of the coconut oil icing a little bit better.  To each their own.  


With constant pressure, ice the cupcakes in smooth, continuous circular movements, starting with the perimeter of the cupcake and working your way around to the center.  Each cupcake will look a little different since you dolloped the colors in somewhat randomly.  Pop those finished beauties into the fridge because of the whipped cream.  Make sure to remove them at least 15 minutes before serving to ensure the icing isn't a rock solid brick, but soft and creamy, like icing should be.  


Love the rainbow (cupcakes).  Share the rainbow (cupcakes).